Lotion Bar Recipe
On this page, I am going to share with you my personal lotion bar recipe. If you are wondering how to make lotion bars, then this is the tutorial for you!
Lotion bars are absolutely wonderful for hydrating dry skin and I think that you, your family and your customers will love them. In short, a lotion bar is a hard bar of lotion that you apply to your skin usually by rubbing it between your hands and then spreading it where needed. A lot of people prefer lotion bars to liquid lotions as they tend to be more portable and unlike almost all liquid lotions, are free from synthetic preservatives. Most lotion bars are made up of simple ingredients including several carrier oils, an antioxidant, some essential oils and most importantly beeswax.
New Lotion Bar Recipe:
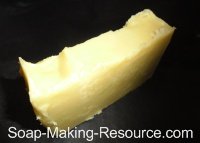
Mango Butter Lotion Bar Recipe: This recipe includes a large variety of high quality SMR skincare ingredients and a great aromatic blend of lavender essential oil and cedar wood essential oil. Be sure to click here to learn how to make our mango butter lotion bar batch after you read the "original lotion bar" tutorial below!Get the Kit! (Out of Stock)
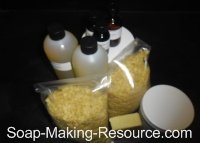
Get the lotion bar recipe kit today and receive all the ingredients to make this great lotion bar at home today. Each kit will include 2 pounds of beeswax, 37.5 ounces of shea butter, 16 ounces of avocado oil, 16 ounces of almond oil, 1/2 ounce of rosemary oleoresin, 2 ounces of orange 5x essential oil, 1 ounce of patchouli essential oil and 1 ounce of peppermint essential oil. This is more than enough to make the lotion bar recipe as explained in the tutorial below. Each kit will also come complete with full written instructions for completing the batch successfully.
You may also want to consider picking up one of the Soap Making Resource 5 pound wooden log soap molds. It will work perfectly with this batch.
Lotion Bar Recipe Kit: $75.79 Out of Stock
On this page, I am going to share with you my favorite lotion bar recipe... It will make a 5 pound batch of lotion bars and you can use your Soap Making Resource 5 pound wooden soap mold. Be sure to line your mold with butcher or freezer paper though! Check out this tutorial that I wrote a while back on lining a wooden mold by clicking here.
Below is my lotion bar recipe formula:
- Beeswax = 27 Ounces (33.3% of total oils)
- Shea Butter = 27 Ounces (33.33% of total oils)
- Avocado Oil = 13.5 Ounces (16.66% of total oils)
- Almond Oil, Sweet = 13.5 Ounces (16.66% of total oils)
- Rosemary Oleoresin = 3 grams
- Orange 5X Essential Oil = 30 Grams (1.058 Ounces)
- Patchouli Essential Oil = 15 Grams (.529 Ounces)
- Peppermint Essential Oil = 15 Grams (.529 Ounce)
Below is the step by step process for completing this lotion bar recipe and I also included pictures to go along with each step:
Step 1) Measure out the carrier oils and beeswax needed for this batch. Remember, you need 27 ounces of beeswax, 27 ounces of shea butter, 13.5 ounces of avocado oil and 13.5 ounces of sweet almond oil.
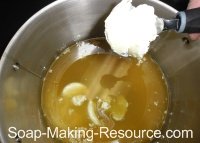
Step 2) Melt all the measured oils and beeswax down to a liquid form and stir them together with a mixing utensil. Remember that beeswax has a melting point of about 145 degrees. So it will take a little bit of time for everything to melt. When melting your mixture, be sure to monitor the heat constantly and if possible, use a double boiler or crock-pot. You don't want to overheat your ingredients!
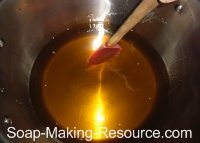
Step 3) Add the 3 grams of Rosemary Oleoresin to your melted mixture. Rosemary oleoresin, also called ROE, is a wonderful all natural antioxidant that will extend the shelf life of your product. It works incredibly well!
Step 4) Now that all your ingredients are melted, and your lotion bar base has been successfully created, we are going to quickly measure out our essential oils that will be added to the lotion bar recipe batch. I say quickly because we want to add the essential oil blend before our mixture of oils and beeswax solidifies in the pot. At this point, it will still be quite warm, but because of the large beeswax content, it will turn into a solid relatively quickly so we need to work somewhat fast.
Measure out 30 grams of orange 5x essential oil, 15 grams of patchouli essential oil and 15 grams of peppermint essential oil.
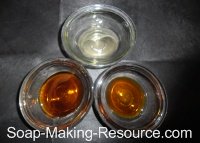
Once each essential oil is measured out successfully, you can combine them all into one dish.
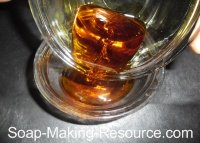
Step 5) Pour the measured out essential oils blend into the melted oils, beeswax and ROE mixture and stir them in completely.
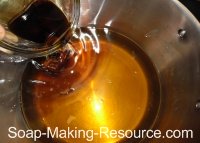
Step 6) Finally, now that all the lotion bar recipe ingredients are added, allow your finished batch to cool. You don't want to pour your lotion bar batch into the mold while it is too hot! This can actually melt the wax on your wax paper that is lining the mold and cause leaking. Ask me how I know! Yup; I learned this the hard way. Once you can see your lotion bar recipe batch start to thicken up slightly, you can pour it into your mold. As you can see in the picture below, I am using Soap Making Resource's 5 pound wooden soap mold.
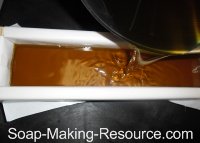
Step 7) Allow the lotion bar recipe batch to solidify completely. Once solid, you can remove the loaf from your mold.
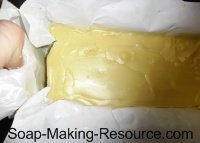
Step 8) Now cut your loaf of lotion into lotion bars using a guided soap cutter.
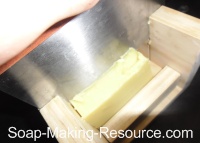
Step 9) At this point, you can use your soap beveler to bevel the edges if you want a more luxurious finished product appearance.
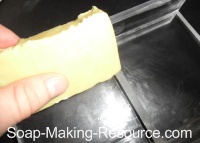
Step 10) Enjoy your lotion bar!
Keep in mind that unlike homemade soap, lotion bars do not require any type of cure time. You can use them right away! Isn't it great when you don't have to wait!
Thank you all for viewing my lotion bar recipe tutorial. I hope that you enjoyed it. Of course, if you have any questions, please feel free to contact us! We are more than happy to help.
Also, don't forget that you can pick up the kit to make this lotion bar batch, or you can purchase any of the ingredients used in this tutorial in bulk right here at soap-making-resource.com.
Return from the lotion bar recipe to the soap recipes hub page.

